Friday, October 02, 2020

Yrbi and Layout Updates

Yrbi

Things have progressed quite well in the terminus of the Yrbi branch line, known none other as the town of Yrbi. Just in case there is a question on pronunciation it is, YUR-bee. I came up with the name of Yrbi from listening to dramitized story by Louis L'amor on CD. One of the characters last name in the story was Yrbi.

 The grain elevator has been constructed along with one silo add on kit, both are Walthers kits, and placed in position. The yard ladder, spur tacks for the grain elevator, and a runaround track have been installed. There also was enough room to install tracks for two more industries for the town of Yrbi. These industries have not been decided on as of yet. It is planned that operations for Yrbi will be provided by a local switching job that will run to the interchange at Yrbi junction in Duran. The local job will pickup/drop off cuts of cars from/for mainline trains from/for destinations north and south on the mainline then return on the branch and switch those cuts of cars for the local industries at Yrbi. No mainline trains will be allowed on the branch. Turnout control will be provided by ground throws that are reachable. For the non reachable turnouts I plan on using Fast Tracks Bullfrog turn out controls. https://www.handlaidtrack.com/bullfrogs These will be used for the turnout ladder for the spur tracks for the grain elevator. I also plan on using these temporarily where needed on the mainline until automation for the mainline turnouts can be installed.


Town of Yrbi.


Yrbi grain elevator. I still need to construct and paint the head house for the add on silos on top, (missing in the picture).


Two views of the future industries, a close up and a view with the runaround and grain elevator spur tracks to the left. Notice the under the track uncoupling magnets in the top picture.


Close up of the yard ladder for the grain spur tracks. These turn outs will be controlled by the Bullfrog manual turn out controls mentioned earlier. This view also offers the view of the under the track uncoupling magnets too.


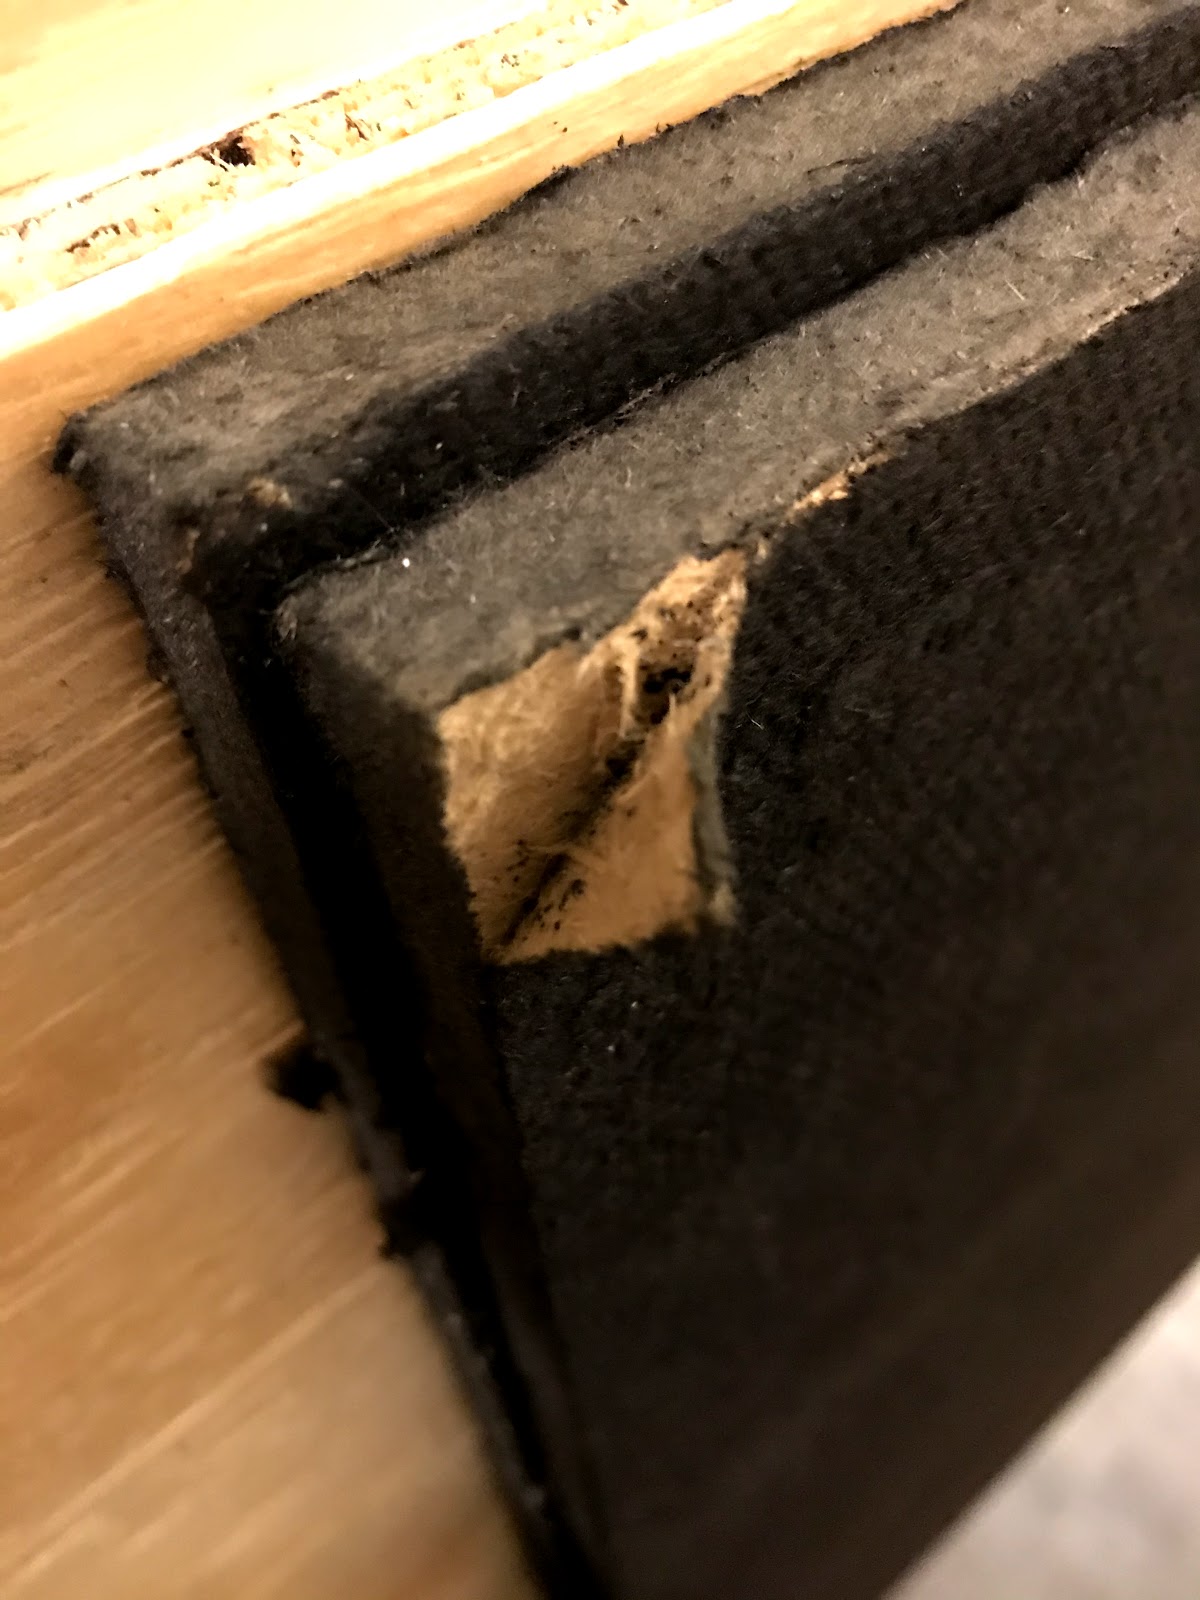
A close up view of the end of track bump stops that I'm using. These are made by Peco and are super simple to assemble and install.


There will be other additions added to the grain facility when they are constructed and I can figure out how to fit them in the space I have. I plan on putting a grain bin with a conveyor leg and a grain dryer, along with propane tanks to supply the fuel for the grain dryer. The propane tanks will add to operations by supplying a LPG tank car to transfer propane to the propane tanks.


Layout

After purchasing two Digitrax DB210 boosters, I have also completed assembly of the power station for the third power district and wired it in and provided the loco-net connections as well. It took me severals hours to trouble shoot a problem I was having with the booster when I got it installed.  I finally found the problem, it was due to a bad crimp on one of the loco-net cables from district two. When you purchase a command station from Digitrax they supply, (or at least it came with my command station purchased years ago), an LT1. This little device helps those of us that make up our own loco-net cables, to make sure they are assembled correctly. Had I used this little device I could have saved myself several hours of frustration and scratching my head wondering what was going on. Live and learn, every loco-net cable from now on will be checked before installed.


Power station for district three.


Digitrax LT1. 
When loco-net cables are assembled correctly and there is a throttle plugged into the loco-net there will be four LEDs that light up. The LT1 is also used to check Digitrax decoders to make sure they are good to go before installed in a locomotive.


That about does it for this post. If you are enjoying the Blog, please comment and let me know.

Enjoyed this post? Never miss out on future post by following my blog.


Saturday, July 25, 2020

What I've Been Up To Update

    I decided I better flex my fingers a little bit and post to the blog what I have been up to lately. With the COVID 19 situation the world is going through now, things are progressing on the C&RGC Railroad.
 
    Track laying for the Yrbi branch has been completed except for the town of Yrbi itself and the branch interchange where the branch leaves the main at Yrbi Jct in Duran. Yes, I have also decided on some city/block names for the railroad and plan on posting a schematic of the railroad showing the names and locations in the near future. I'm in the process of obtaining structures for Yrbi to help me decide on track placing. Yrbi will be the site for a large grain facility.

    Over the past few months I have divided the railroad into electrical districts. Each district will entail the upper and lower section of the railroad for that district. I have divided the railroad into four districts. Over the last several months I have been wiring the districts to a central location for each. also I have been wiring track feeds and providing wiring for track detection for signaling minus the controls for signaling, that will come latter which will entail things that I'm not quite up on at the moment, and where the learning curve will be huge I assure you. Wiring is a tedious process and well???.....just wiring, nothing exciting, and unfortunately, for the most part, not very picture worthy. So far I have district 1 and 2 fully wired to their respective command/booster stations. District 3 is wired but not to the booster station yet because I have not purchased the two remaining boosters needed for district 3 and 4. These districts are the upper level of the railroad wired as I don't have any track installed yet on the bottom level.

    Along with working on the railroad I have been installing decoders in locomotives and assembling a car or two. I've been collecting GP30s, my favorite EMD locomotive model, in different road names and installing decoders and lights in them along with replacing the dreaded cracked axle gears that older Proto 2000 Locomotives are famous for. So far I have DRGW, CNW, NYC, PRR, ATSF, Nickel Plate, B&O, with sound, got a steal on that one, and a BN in the near future, a one to one trade with a good friend of mine. Thats about it for this post. I know, not a very exciting post, but like I said wiring is just...well, wiring, not too interesting.


Power station for district 1.


Power station for district 2.


Enjoyed this post? Never miss out on a future post by following my blog.


Wednesday, April 15, 2020

The Yrbi Branch

The Yrbi branch started as a track that ascended away from the main line at what will now be called Yrbi Junction. It was going to loop back and run against the north wall of the layout room above the cities of Denver and Salt Lake staging tracks. It was then to curve and move along the east wall of the layout room above the mainline. From there it would cross the mainline and the drill tracks for Santa Fe yard and feed a few industries inside the loop at a higher elevation on the peninsula encircled by the arrival departure tracks. As I thought about this over several months while working on the town of Summit, I decided to abandon this plan as the top level of the layout is a little excessive in height, which was a mistake in planning and progress on the layout has gone too far to fix. So it was decided more height was not the way to go. It is planned that a local will run between Yrbi and Yrbi Junction to set-out/pickup cars at the branch interchange tracks, at Yrbi Junction, which will be dropped off by mainline through freights.


The next set of photos shows Yrbi branch raised sub-roadbed, risers, and the section of sub-roadbed that ran above the cities of Denver and Salt Lake staging tracks, all of which have been removed.


Future north end of summit to the left.


The next three photos show the old sub-roadbed above the two staging tracks with the mainline closest to the camera. This is the north wall of the layout room and the wall in the back ground of the third picture is the east wall. As mentioned before the sub-roadbed and it's supports have been removed.


The next set of photos shows the Yrbi branch as it is today with continued construction as well as future construction. The sub-roadbed from Yrbi junction around the curve just had the risers removed and attached to the grid work thus the holes that were cut in the cork to allow access to the screws. The long section of tangent sub-roadbed was relocated just to the right of the main and attached to the grid work. Fortunately the cork was not glued down all the way on this section which made for easier disassembly.


As seen in this photo is the turnout for future branch interchange tracks and maybe a wayside industry or two. I'm also thinking of maybe constructing a wye to turn the local locomotive in the area behind the camera. Some extra thought needs to be given to this as I'm undecided at the moment.


The track will extend here and loop around and above the outer edge of the helix.


This will be Yrbi. A large grain elevator and maybe some type of mill with a wye if room allows.

Enjoyed this post? Never miss out on a future post by following my blog.


Monday, April 13, 2020

Progress at Summit

The town of Summit is the name given to the block of track at the top of the helix. After a little brainstorming with myself and my wife Pam as what to name the town, and after mulling over many combinations of catchy names. I finally decided to keep it simple and name it Summit. The plans for Summit are three industries and accommodations for pickup and drop off for helpers which will entail non-powered dummy locomotives. The town at the bottom of the helix will also have accommodations for the same purpose. 

To mainly provide for operational interest, the plan is for every train that traverses the helix will have helpers on the end for both up and down movements. The train crew will cut in the locomotives before traversing the helix up or down, and like wise cut out the helpers when arriving at top or at the bottom. The reason behind having helpers on trains down the helix was to provide a way for the non powered helpers to be returned to the bottom of the helix without a separate crew to do this or an extra move for the crew. When operating sessions finally commence, they will be closely monitored as to weather this will be feasible pertaining to the question, "Will it become too much of a bottleneck?" I know many of you are thinking it will but again, the main reason for this is to add operational interest. After observing operation sessions and it does become just that, a bottle neck, the idea will be abandoned.


The North end of Summit with siding turn out and the turnout that will eventually lead to the two industries at the north end. The blank cork on the right is the branch line that will eventually lead to a grain facility.


The upper two pictures show the south end of Summit showing helper storage track for downward helix trains and eventual lead to the south industry with the mainline, siding and branch to the left in the lower picture.


Far south end of Summit showing the helper storage track for trains reaching the top of the helix with the freshly glued down cork for the branch to the left. I'm still in planning stages for the three industries for Summit and a name for the branch line town. This will be revealed in future blog posts when decisions have been made.

Enjoyed this post? Never miss out on a future post by following my blog.


Friday, March 13, 2020

Southern Pine Asphalt Board As A Replacement For Homasote Update

As mentioned earlier in the Blog. I would update the blog with my experience with Southern Pine Asphalt board to replace Homasote. So far so good, if you will. The light asphalt coating was a little tacky when first bought but dries up with time sitting in the house waiting to be used. The product holds spikes and track nails sufficiently enough even after being pulled and reinserted into the same hole. When sawing and cutting it does tend to make a big mess but so does Homasote. I would recommend cutting outside in well ventilated area to save on clean up.


I have cut, installed and painted this product in the block just before the helix on the layout.
Painting takes 2 coats to cover with letting the first coat dry completely then applying the second coat to cover.


Enjoyed this post? Never miss out on a future post by following my blog.

Wednesday, February 26, 2020

Possible Homasote Replacement

Like most model railroaders, I'm always on the lookout or looking for a way to stretch funds and I just might have found a way to accomplish this. The fall of 2019 I spent some long deserved time with close friends operating on one of their layouts. While spending time with them a conversation on layout construction came up. One of the subjects was on Homasote. I had mentioned that I was using Homasote and Dave Cochrun turned to me and told me he had found a much cheaper replacement for Homasote. A type of fiber board that could be acquired at a local Home Depot. Upon returning from my trip and with pictures in hand, I immediately went in search for this fiber board at my local home depot. I was unable to find the same material that Dave had used but did find something close to it. I had found a fiber board impregnated with a light coat of asphalt called Southern Pine Asphalt Board. the coating has a light tacky feel to it, but once I got it home and after a few days the tackiness went away. I will update the blog as my experience with this material continues.


As you can see in the photo, the coating does not penetrate the full thickness of the board.


The photos below are examples of the material Dave Cochrun had located and used. At the time he mentioned this to me, he was unsure it was still available since it had been 18 months since he last purchased it. The material in the photos above was all I could locate that seemed to come close to what Dave had used. (Photos below provided by Dave Cochrun)


Enjoyed this post? Never miss out on a future post by following my blog.

Helix Construction

Its been a while since I posted to the blog and wanted to show progress that was made the summer of 2019. This should have been posted before the "Getting Prepped for Helix and Mainline Connection" post. The helix was a summer long project and I am quite satisfied with its turn out. The helix climbs 27 3/4 inches with a total circumference of 67 5/8 inches outside edge to outside edge. Track radius for the inside loop is 28 inches and the outside loop is 30.5 inches. Construction for the helix was based on the method attained from Jeff Johnston on YouTube. (Helix How To Part 1) Thanks Jeff for your video! The most important part for the helix is the first loop because all other layers on top follow right along with the first loop as building progress continues upward. I got very frustrated with this step as it took some time to perfect this first layer and getting it right. One attempt, I spent a whole days work getting things the way I thought they should be to find out it wasn't right and had to start over the next day.


Construction of the first layer.


Continuing layers to the top.


Wiring for the helix is shown in the photo below. There are 2 of these 180 degrees apart to feed the helix and minimize voltage loss.


Close up view of the feeders to the track.


Birds eye view of the completed helix. As close as I can figure, the helix grade is just over or just under 2%. Construction entailed 3.5 sheets of 1/2 inch plywood and close to three boxes of 100 piece code 100 Atlas flex track. 


Enjoyed this post? Never miss out on a future post by following my blog.