Wednesday, February 26, 2020

Possible Homasote Replacement

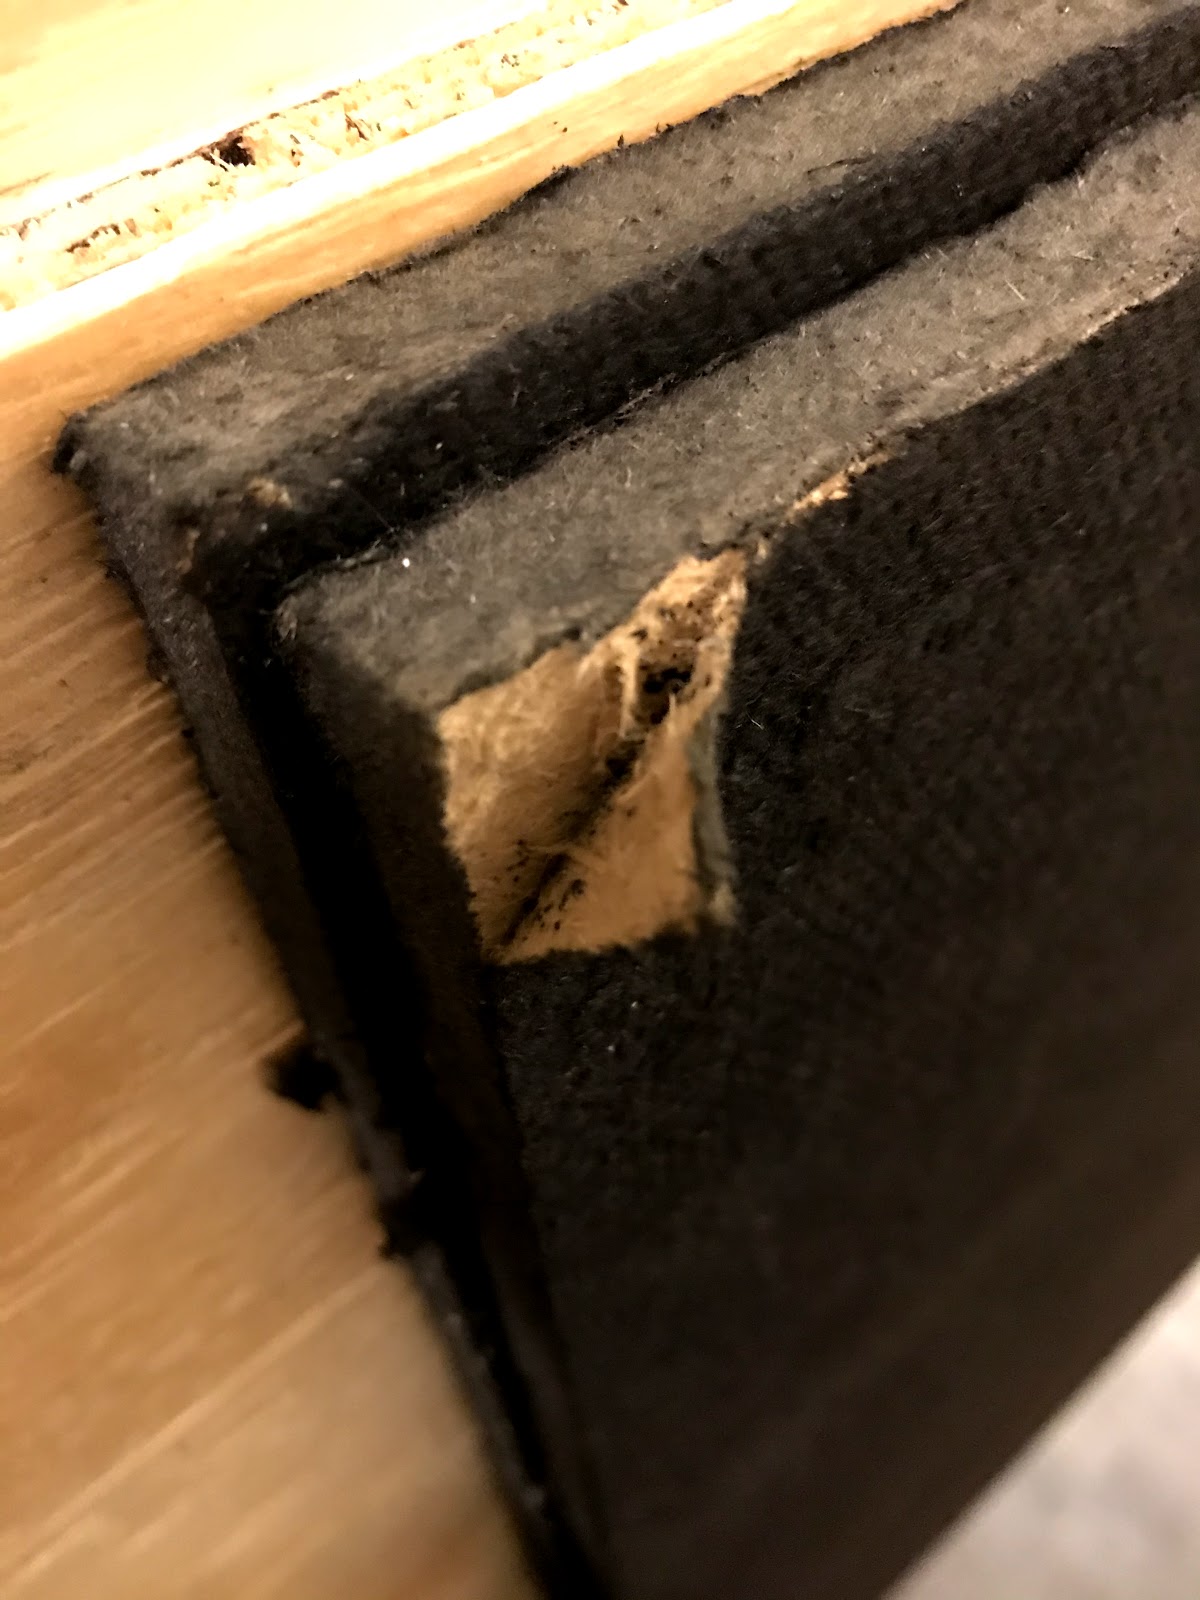
Like most model railroaders, I'm always on the lookout or looking for a way to stretch funds and I just might have found a way to accomplish this. The fall of 2019 I spent some long deserved time with close friends operating on one of their layouts. While spending time with them a conversation on layout construction came up. One of the subjects was on Homasote. I had mentioned that I was using Homasote and Dave Cochrun turned to me and told me he had found a much cheaper replacement for Homasote. A type of fiber board that could be acquired at a local Home Depot. Upon returning from my trip and with pictures in hand, I immediately went in search for this fiber board at my local home depot. I was unable to find the same material that Dave had used but did find something close to it. I had found a fiber board impregnated with a light coat of asphalt called Southern Pine Asphalt Board. the coating has a light tacky feel to it, but once I got it home and after a few days the tackiness went away. I will update the blog as my experience with this material continues.


As you can see in the photo, the coating does not penetrate the full thickness of the board.


The photos below are examples of the material Dave Cochrun had located and used. At the time he mentioned this to me, he was unsure it was still available since it had been 18 months since he last purchased it. The material in the photos above was all I could locate that seemed to come close to what Dave had used. (Photos below provided by Dave Cochrun)


Enjoyed this post? Never miss out on a future post by following my blog.

Helix Construction

Its been a while since I posted to the blog and wanted to show progress that was made the summer of 2019. This should have been posted before the "Getting Prepped for Helix and Mainline Connection" post. The helix was a summer long project and I am quite satisfied with its turn out. The helix climbs 27 3/4 inches with a total circumference of 67 5/8 inches outside edge to outside edge. Track radius for the inside loop is 28 inches and the outside loop is 30.5 inches. Construction for the helix was based on the method attained from Jeff Johnston on YouTube. (Helix How To Part 1) Thanks Jeff for your video! The most important part for the helix is the first loop because all other layers on top follow right along with the first loop as building progress continues upward. I got very frustrated with this step as it took some time to perfect this first layer and getting it right. One attempt, I spent a whole days work getting things the way I thought they should be to find out it wasn't right and had to start over the next day.


Construction of the first layer.


Continuing layers to the top.


Wiring for the helix is shown in the photo below. There are 2 of these 180 degrees apart to feed the helix and minimize voltage loss.


Close up view of the feeders to the track.


Birds eye view of the completed helix. As close as I can figure, the helix grade is just over or just under 2%. Construction entailed 3.5 sheets of 1/2 inch plywood and close to three boxes of 100 piece code 100 Atlas flex track. 


Enjoyed this post? Never miss out on a future post by following my blog.


Monday, November 11, 2019

Getting Prepped For Helix and Mainline Track Connection

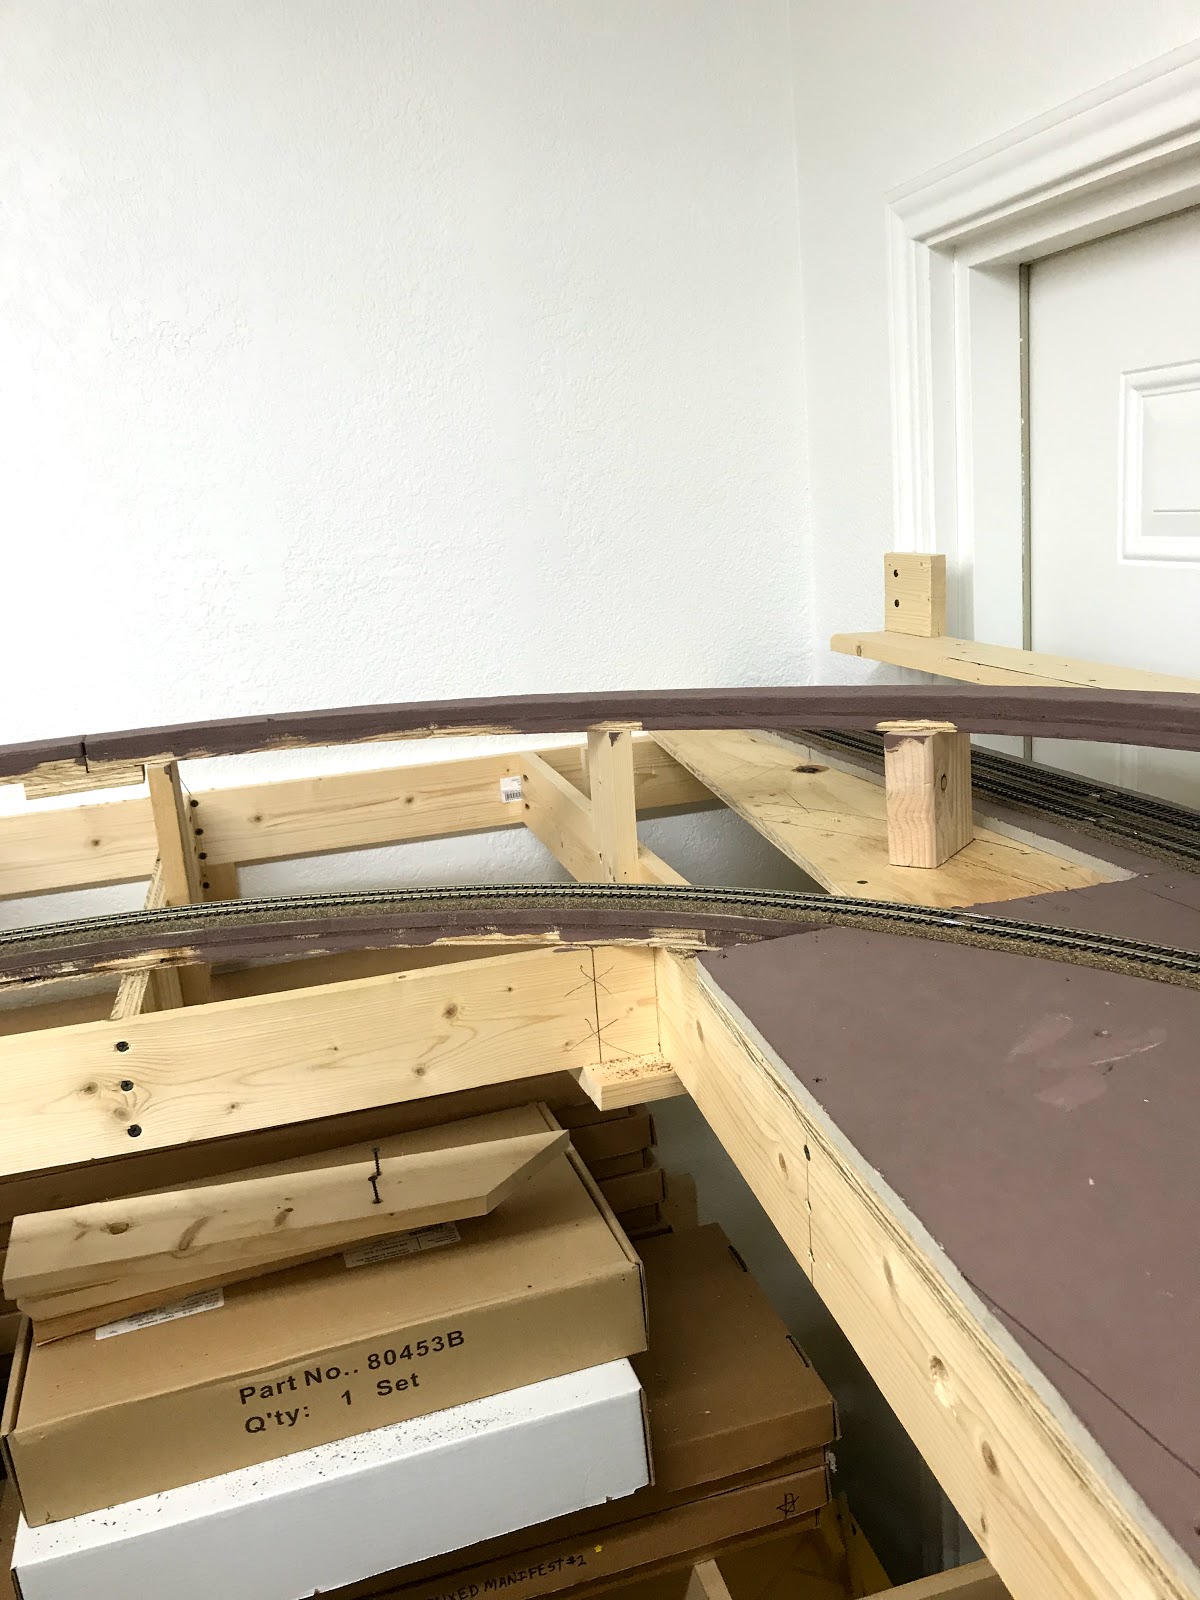
I have installed the Sub-road bed for the area leading to the Helix. This will make it possible for me to continue the mainline and connect it with the helix.


Sunday, November 10, 2019

Layout Footprint

For those that are curious of the layout footprint. These can also be viewed with the links under Layout Track Plan in the right column of the blog. The layout is currently housed in an addition to my home. The addition total foot print is 21' x 40'. The layout room is 21' x 25' and the additional space was made into a craft room for my wife. She has so graciously agreed to let me use the craft room as a crew lounge for operating sessions in the future. Thanks Dear! 
The footprint for the layout was drawn in XtrakCAD which is a free CAD program that can be downloaded by clicking the white hyperlink.


Upper level, with the helix in the lower right and Santa Fe NM Yard in the upper left. The industry tracks have not been laid yet as I have been experimenting with ideas for those.  


Lower level, again with the helix in the lower right. El Paso Texas yard on the left side and in the upper right will be an interchange with the Southern Pacific's Sunset Route. The over and under on the left peninsula is undecided at this time. Trying to come up with ways to extend the run has its challenges.

Enjoyed this post? Never miss out on a future post by following my blog.

Saturday, November 09, 2019

Early Layout Beginnings To Now

I finally got around to finding pictures from the early start of the layout and I wanted to share those on the blog with photos of more recent ones. The following are photos of the early stages of the layout bench work, along with descriptions of the other photos.


There are other photos between these early stages and the later stages of construction, but I have been unable to locate them. Lost, within the fields of electronic storage some where unknown.


The following are the early construction of the peninsula leading to the Santa Fe NM yard. How I do need to come up with names for the yards other than the city names. I need to work on that!


         Stack of Homasote waiting for cutting and trimming and installation.           


          Santa Fe NM yard.             


Mainline and siding leading into arrival departure tracks.


                                                              Arrival/Departure tracks.


Arrival/Departure and caboose tracks with the locomotive faciltiy.


                                                               Santa Fe NM Yard.


Joining of the reverse loop for continuous running, with a glimpse of the branch line on the wall to the left and the open end of Santa Fe NM yard.


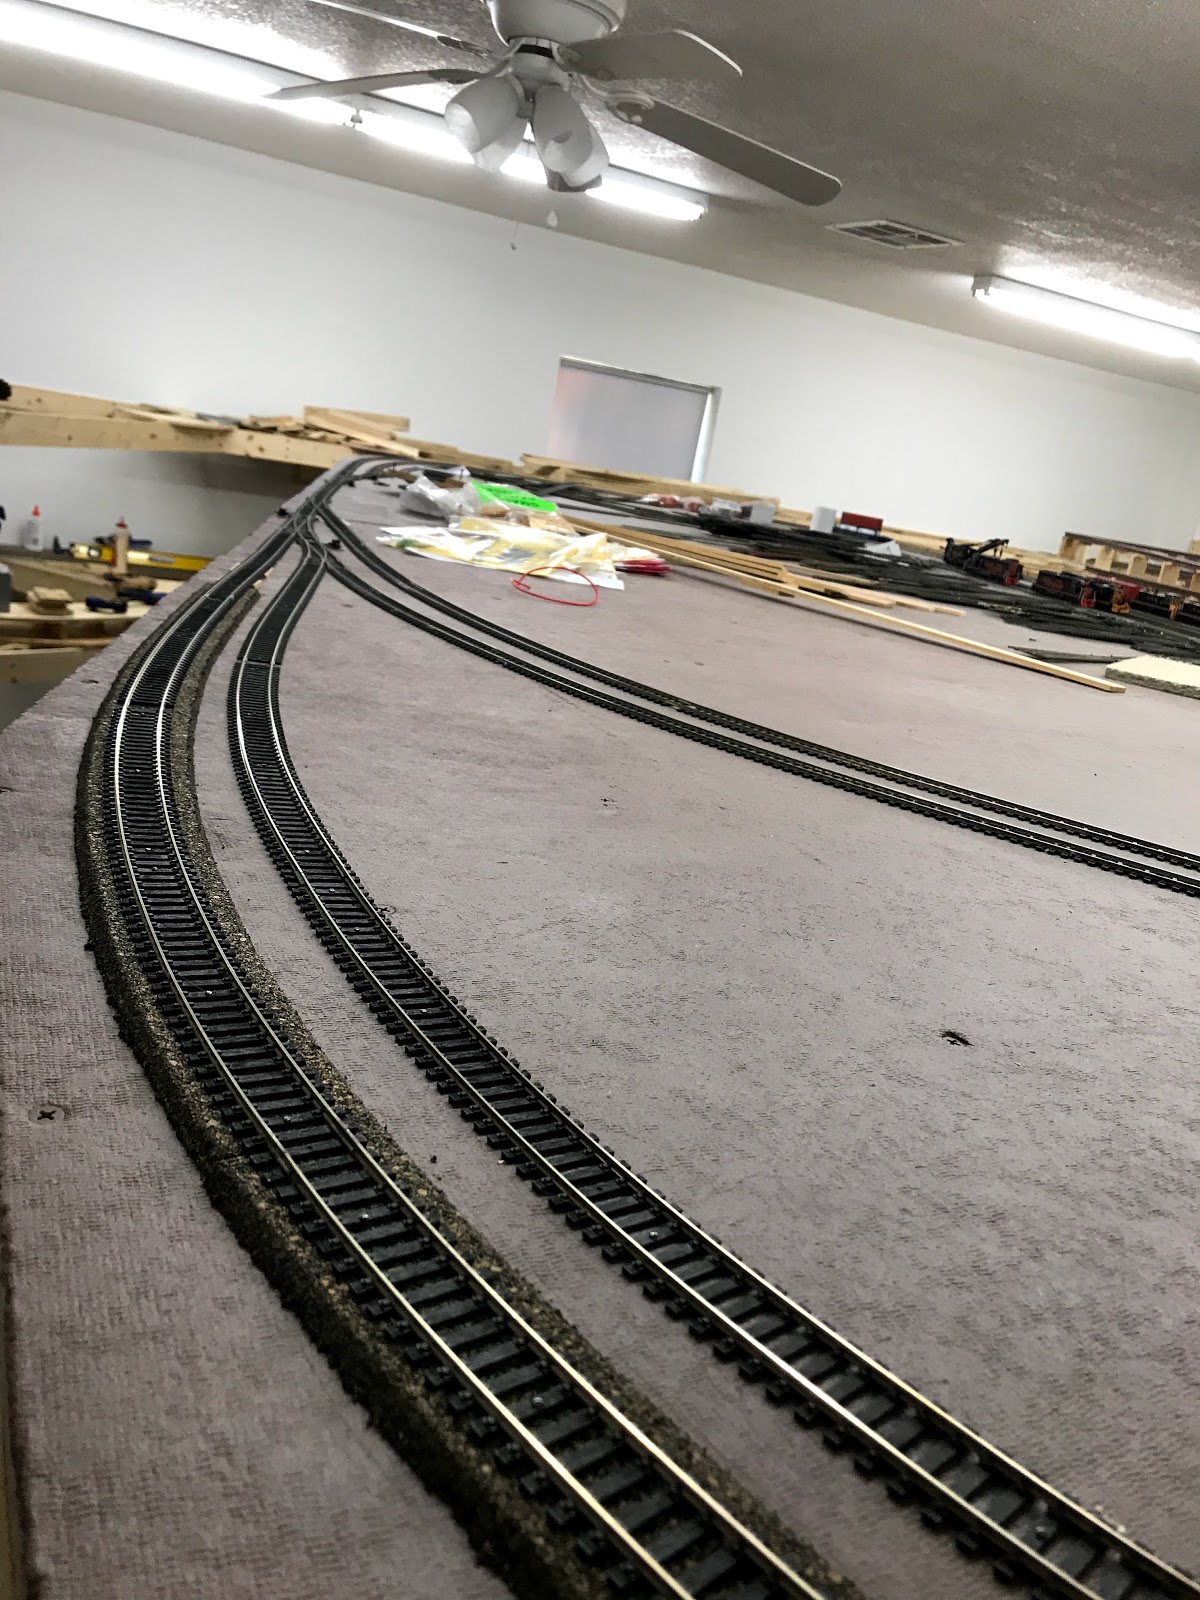
Mainline (to the right) with Denver and Salt Lake City staging (left two tracks) with the branchline above.


Good view of the branch line above staging. At this point I am a little hesitant on weather or not to continue the branchline because of height concerns. I struggle with eliminating it or not.


More of the branchline.


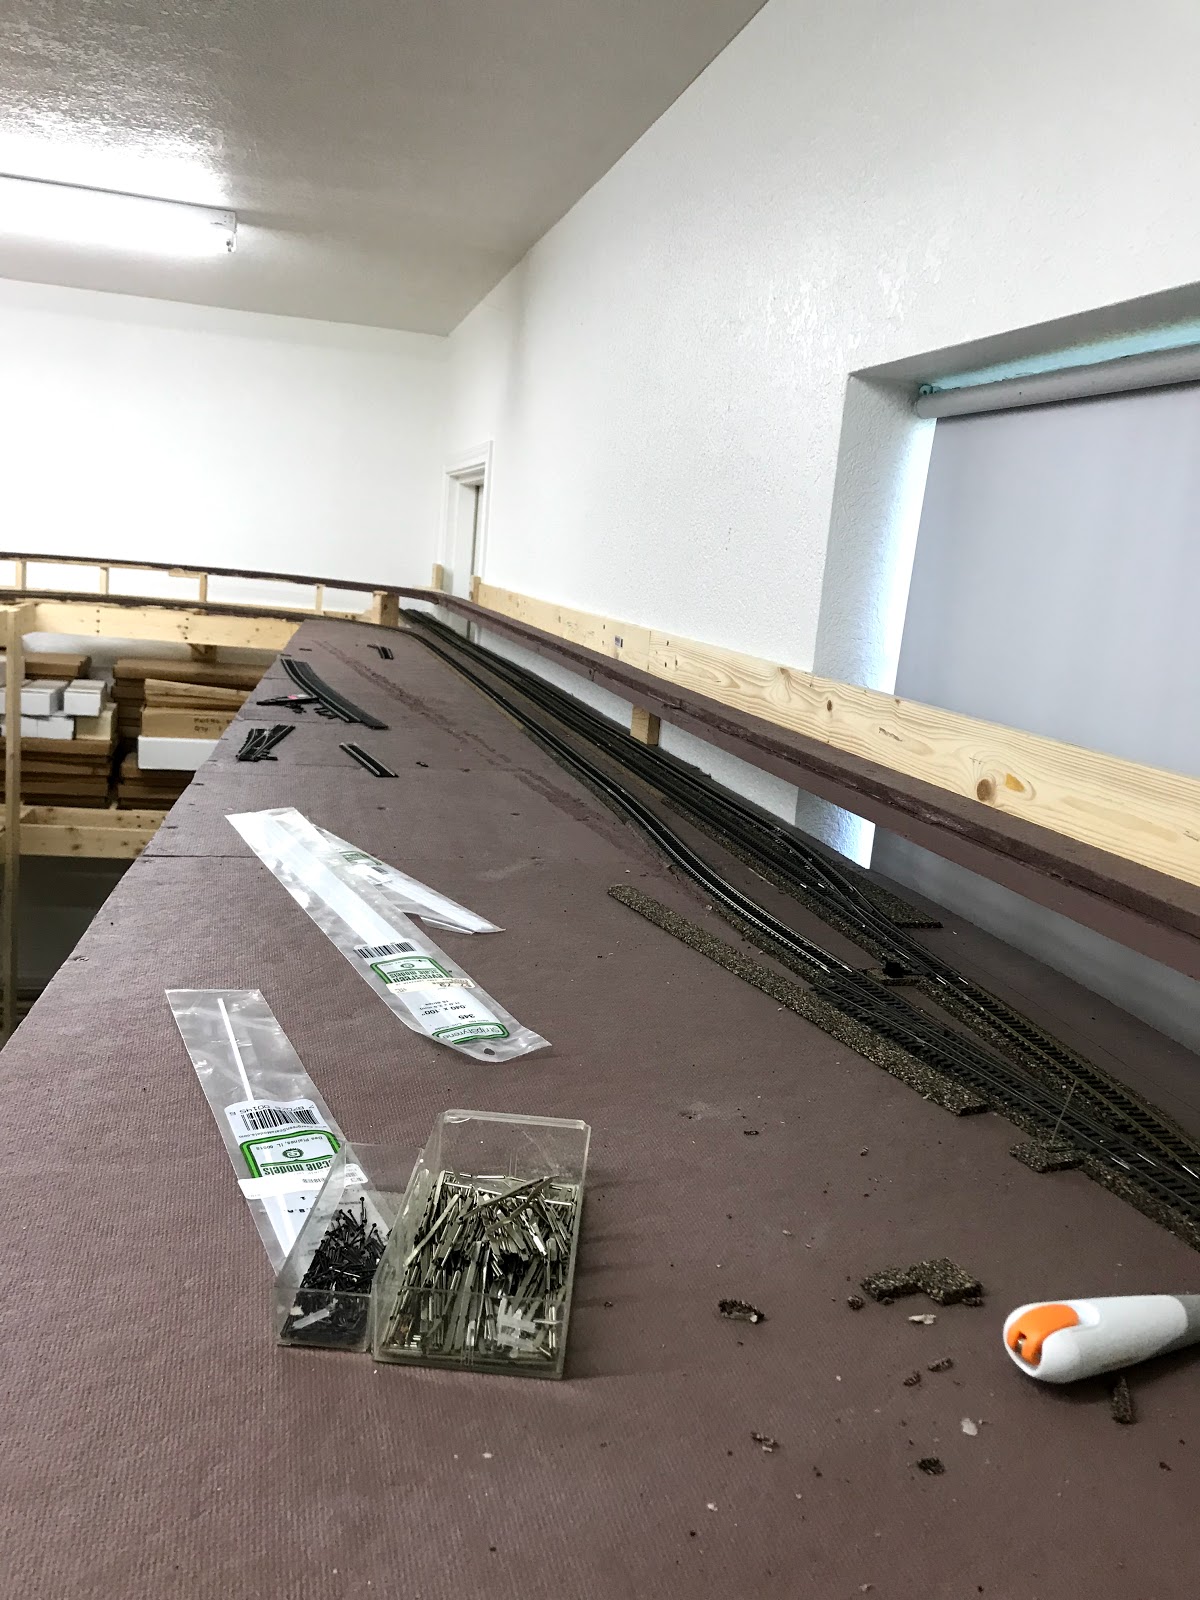
The branchline separated from the main. In this photo you can also see the styrene under the main track for my experiment with super elevation on the curve and the branchline rising in the back ground.


This photo shows looking down the branch line the opposite way with the main (to the right) waiting for helix construction before continuing on.

Enjoyed this post? Never miss out on a future post by following my blog.